Elastic Email Sender
Reconfigures wp_mail() to send email using Elastic Email API instead of SMTP.
Plugin info
Maintenance & Compatibility
Maintenance score
Actively maintained • Last updated 77 days ago • Support resolved 50% • 10 reviews
Is Elastic Email Sender abandoned?
Likely maintained (last update 77 days ago).
Compatibility
Developers
Similar & Alternatives
Explore plugins with similar tags, and compare key metrics like downloads, ratings, updates, support, and WP/PHP compatibility.
Description
Elastic Email Sender allows you to connect your WordPress with our powerful, low-cost Elastic Email API and start sending marketing or transactional emails!
Please follow the information below and find out more about how we can help you send your emails in a more efficient way.
In case of any questions or concerns, feel free to contact us anytime.
What is the Elastic Email Sender plugin?
The Elastic Email Sender plugin is an easy way to maintain all the aspects related to your email campaigns. From creating and sending your emails to monitoring and managing campaign stats.
Elastic Email Sender replaces the WordPress default wp_mail() function by using API integration with Elastic Email to send an outgoing email from your WordPress installation.
Thanks to this, you can track all the parameters of your delivery, use Private IP addresses to get full control over your sending, maintain reputation and delivery and secure your data better than ever. You can also use your own domain and analyze your data with ease.
Elastic Email Sender is compatible with almost every solution available on the market including WooCommerce, Contact Form 7, Ninja Forms, Flamingo, Caldera Forms, bbPress
How to get started?
Just sign into your Elastic Email account, copy the API Key. Next, please login to your WordPress dashboard, add the Elastic Email Sender plugin and paste there the API Key from your Elastic Email account.
Translations
You can translate Elastic Email Sender on translate.wordpress.org.
Installation
To connect WordPress to Elastic Email:
1. Log into your WordPress dashboard and click Plugins in the left sidebar.
2. Click Add New at the top of the page and then, search for “Elastic Email Sender” and click “Install Now”.
3. Click Activate Plugin.
4. Enter your Elastic Email API key in the plugin settings with permission Plugin, and click Save Changes.
5. If you do it successfully, you can start sending emails!
Installation in Network
To connect WordPress to Elastic Email:
1. Log into your WordPress dashboard (Network Admin) and click Plugins in the left sidebar or dropdown menu.
2. Click Add New at the top of the page and then, search for “Elastic Email Sender” and click “Install Now”.
3. Click Network Activate.
4. Enter your Elastic Email API key in the plugin settings with permission Plugin, and click Save Changes.
5. If you do it successfully, you can start sending emails!
Frequently Asked Questions
Please take a look at the Elastic Email resources first.
If you can’t find the answer, please contact our Support Team.
Start with Elastic Email by creating a new account on our website.
Elastic Email Sender has an option to switch between transactional and marketing emails. This means that from now on, you can easily decide what kinds of emails you would like to send. By default, you will be sending marketing emails that can be used for all kinds of marketing announcements: newsletters, marketing updates, sales offers, etc.
But if you would like to send more technical emails like notifications about your service or app status, password reset or notifications about orders, you can use transactional emails that can be used for all kinds of transactions between users and service/app owners.
Please note that users who unsubscribe from marketing emails can still receive transactional emails. In case of any questions please contact our Customer Success team – they are available 24/7!
Find out how to verify your domain on our Resources page.
You can find the Elastic Email API Key in Settings account.
All the details about the private IPs are available in Settings/Private IPs account.
Make sure you allowed for the use of custom headers by checking the “Allow Custom Headers” option in Settings/Sending.
Please make sure that you have the “Auto Create Text Body” turned on in your Sending Settings. If yes, your emails are also available as plain text.
Review feed
Excellent plugin!
Screenshots
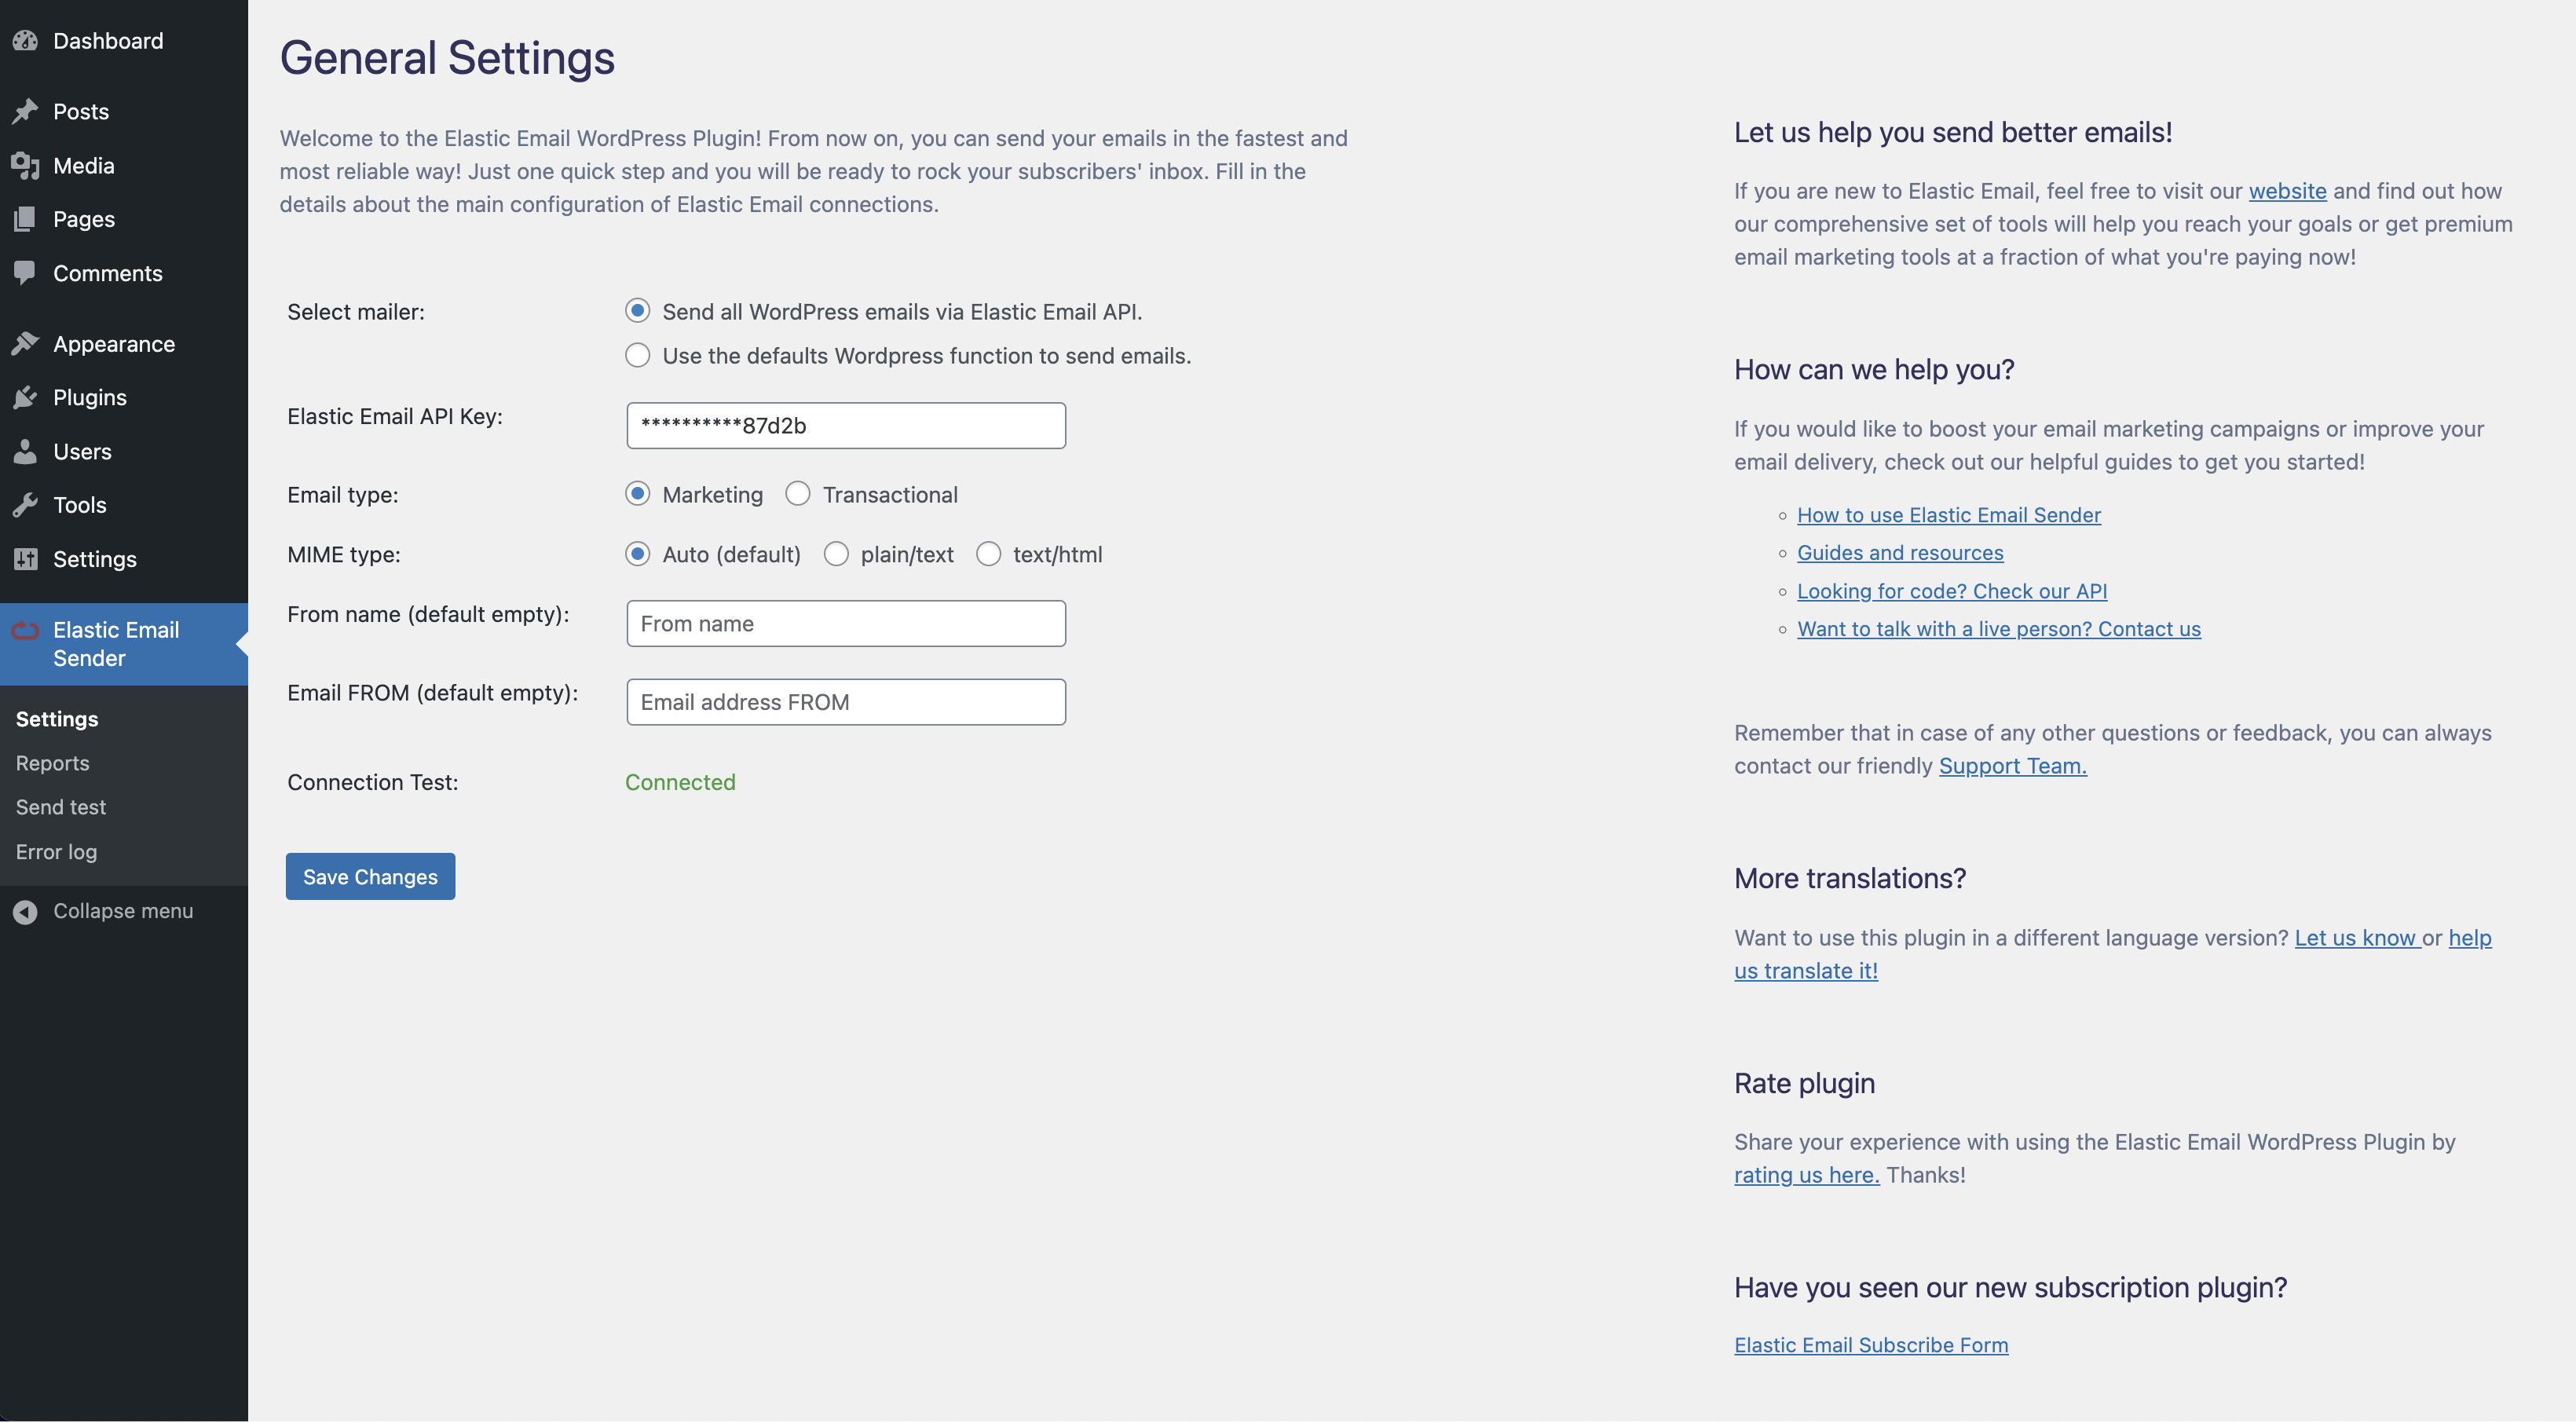
Install Elastic Email Sender with ease! Just fill in a few details and let us help you send better emails.
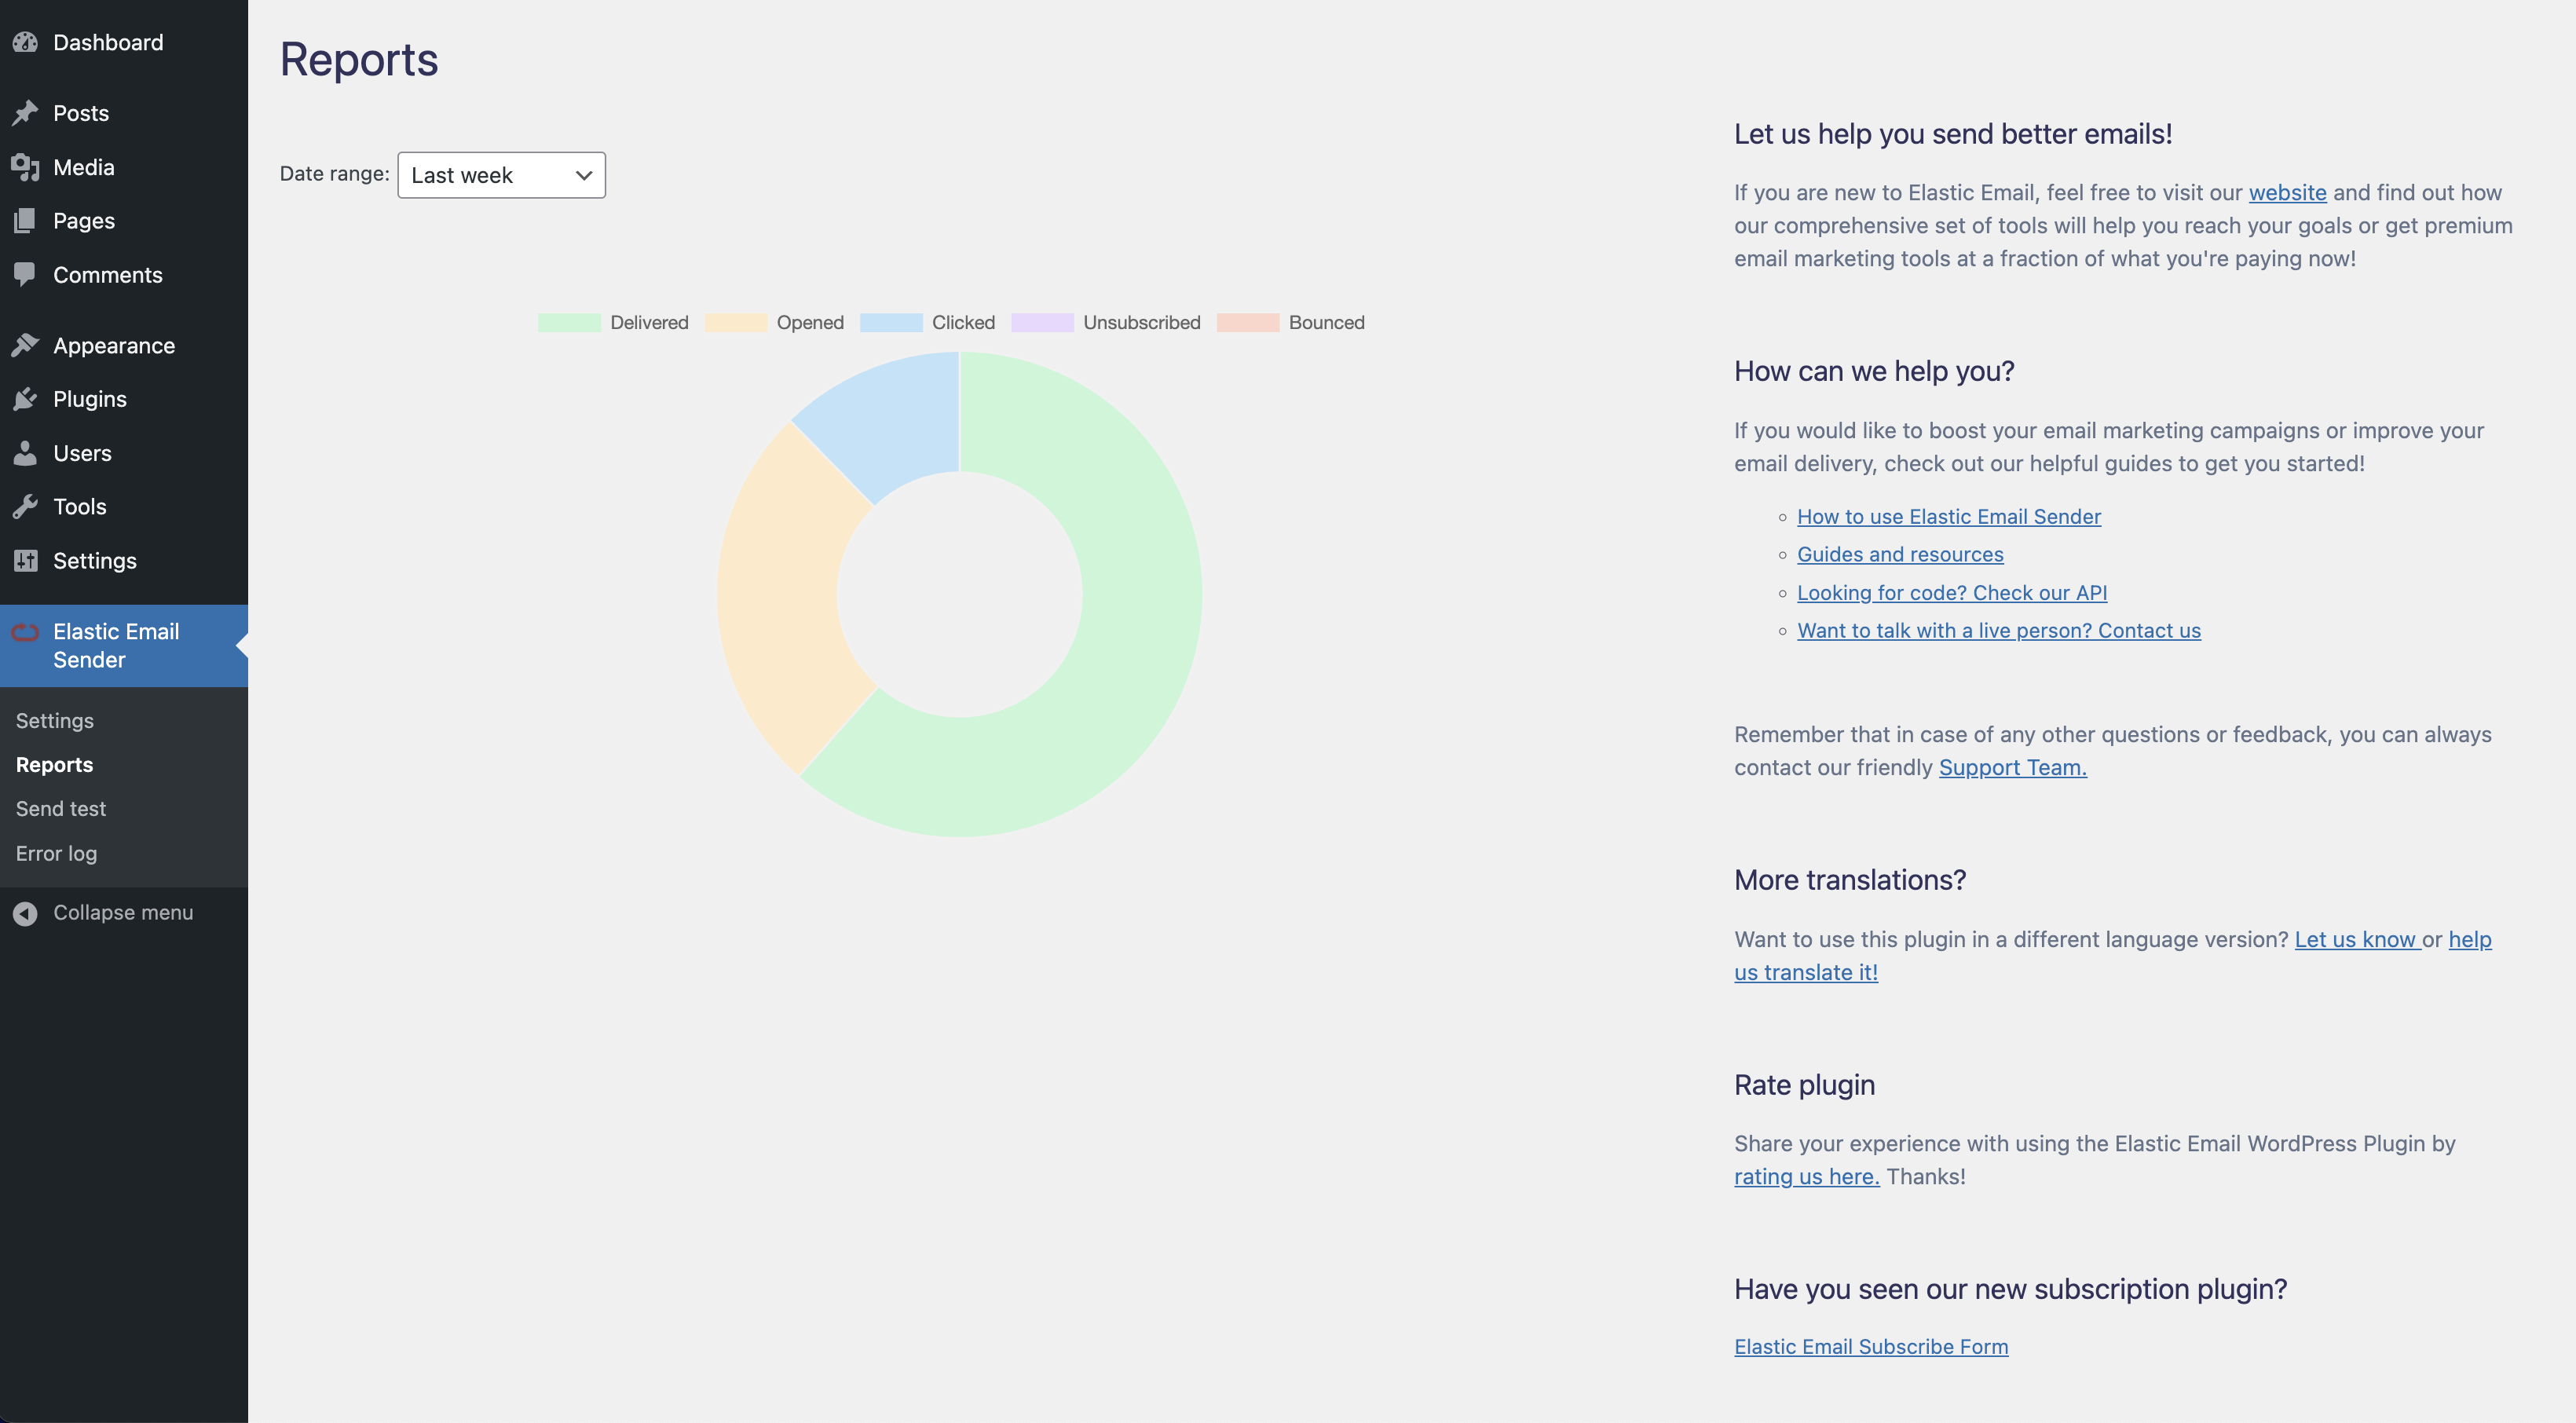
A visual representation of your campaign's results. If you would like to know more about your campaigns statistics, please go to the Reports screen on the Elastic Email dashboard.

Test the sending configuration easily.
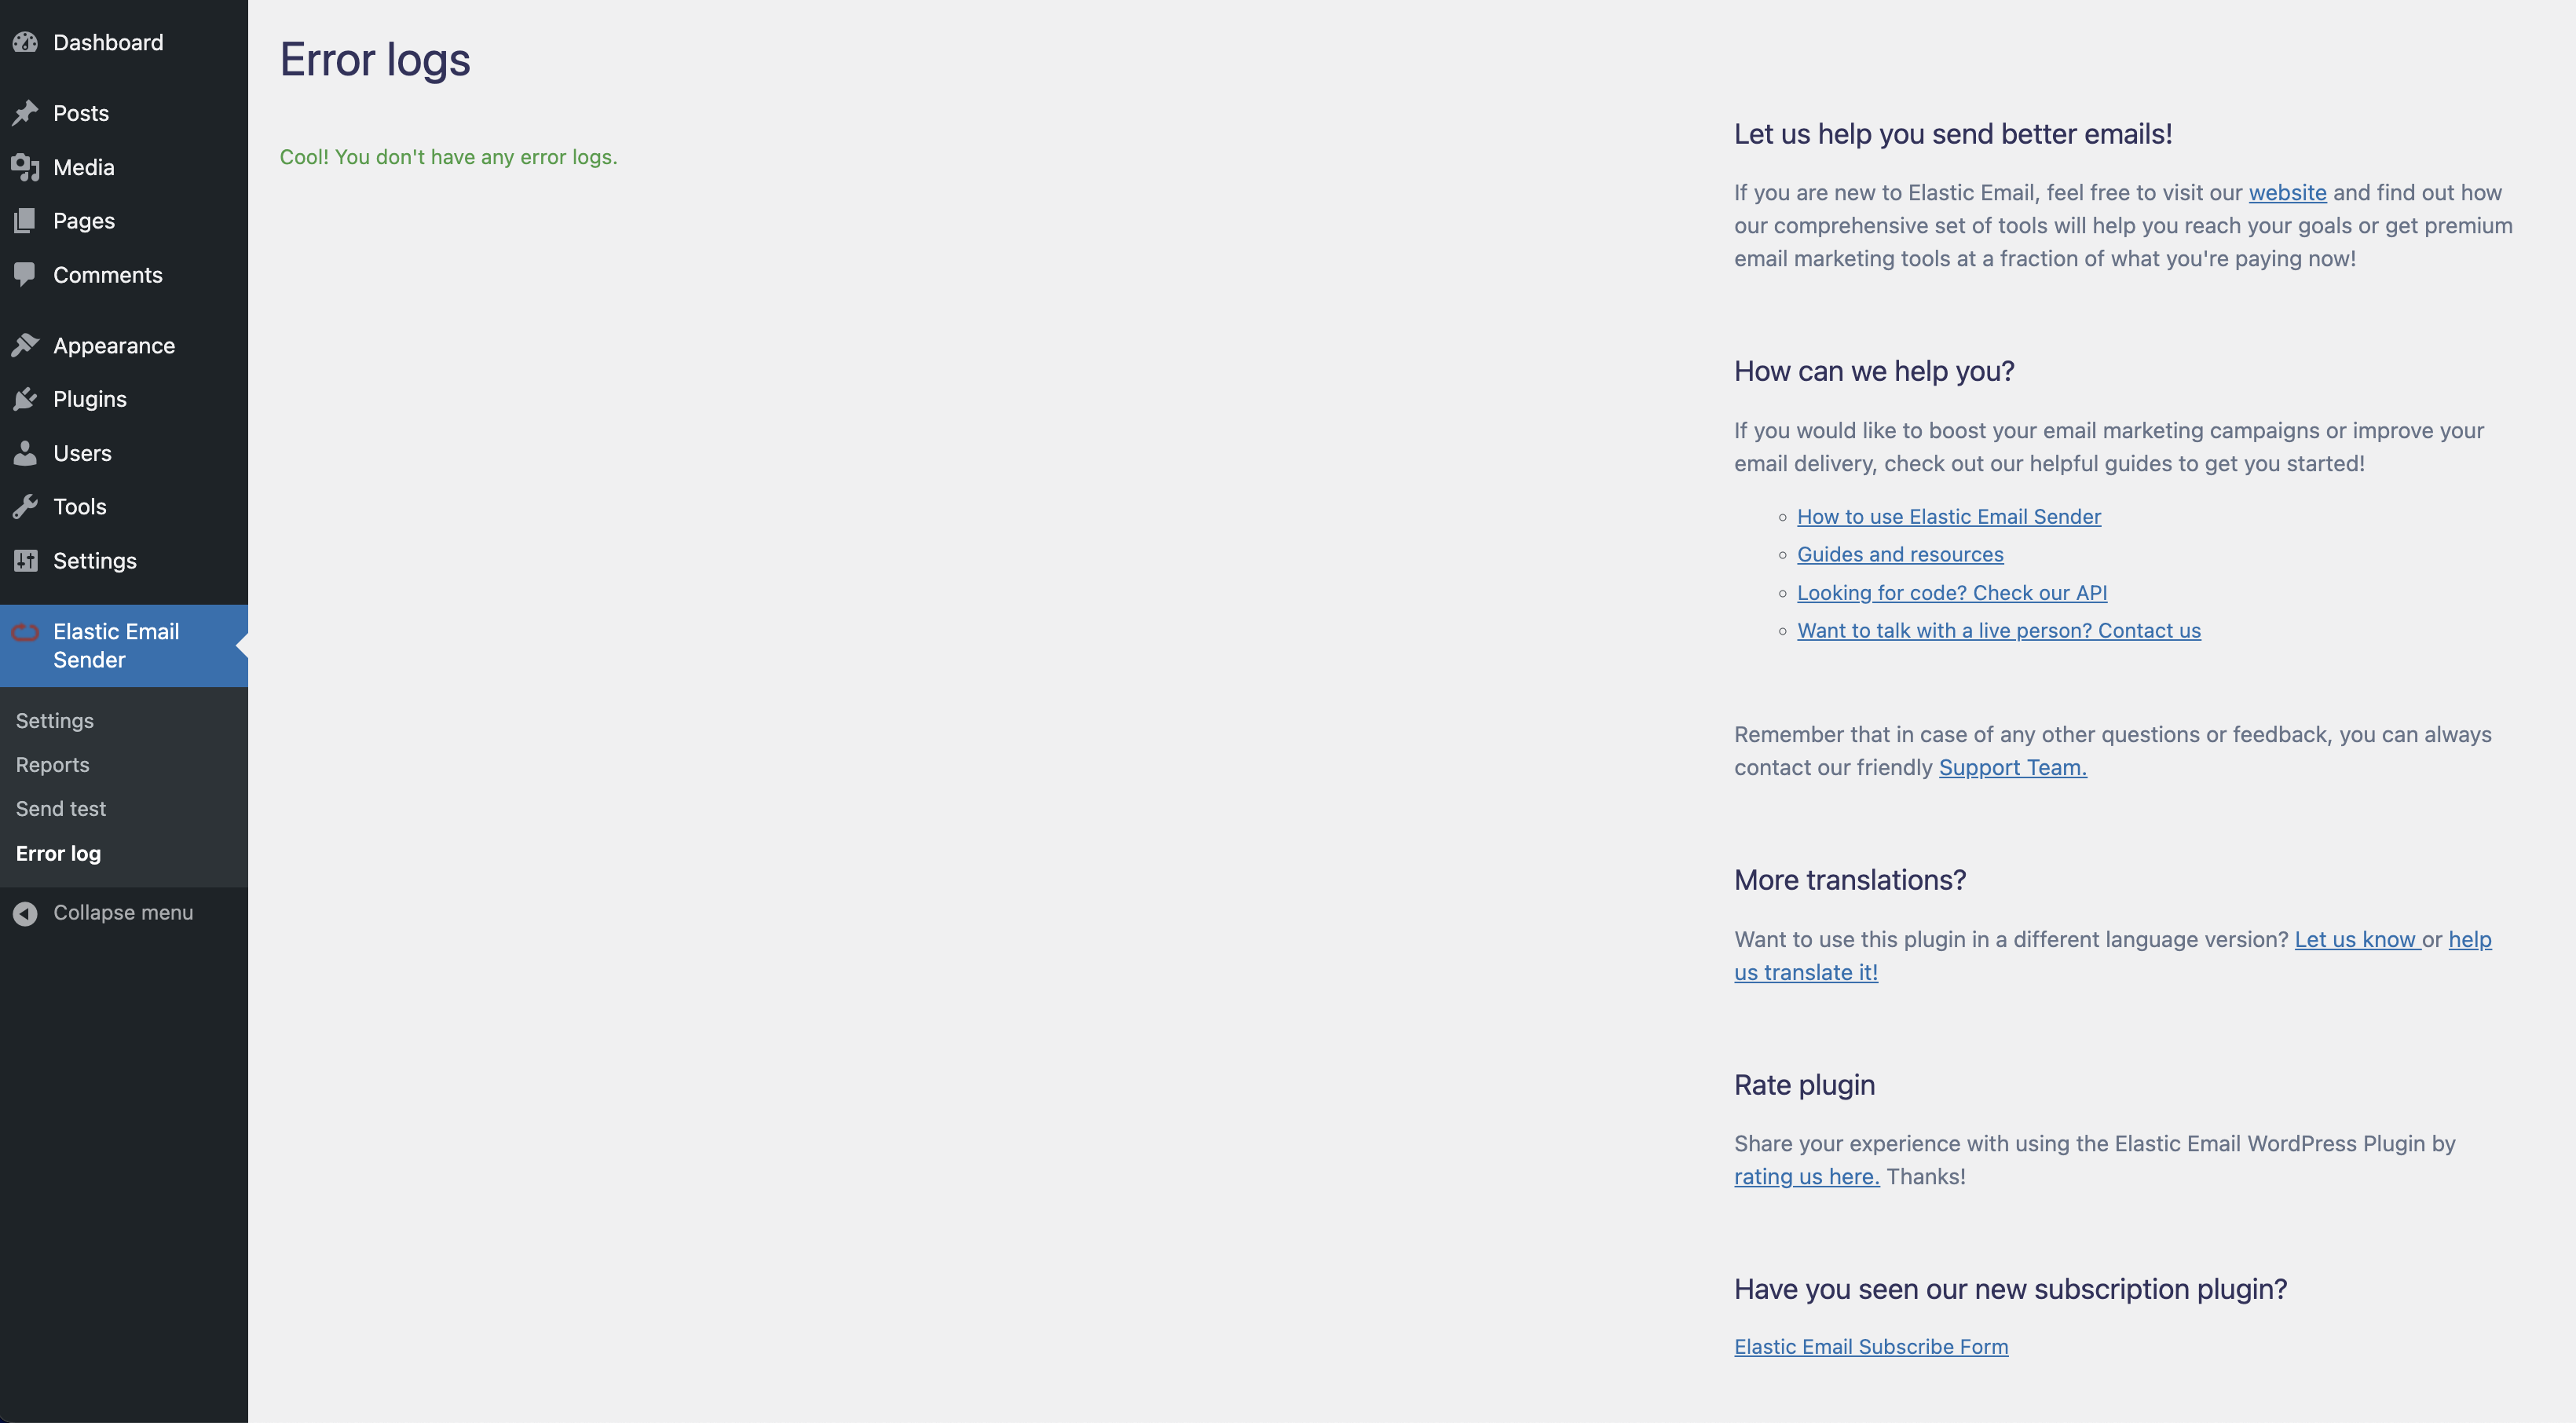
Error log
Changelog
1.2.22
- Minor fixes and optimizations
1.2.21
- Bug fixes and improved application performance